Rubik's Cube Solution: From Beginner to Expert in No Time
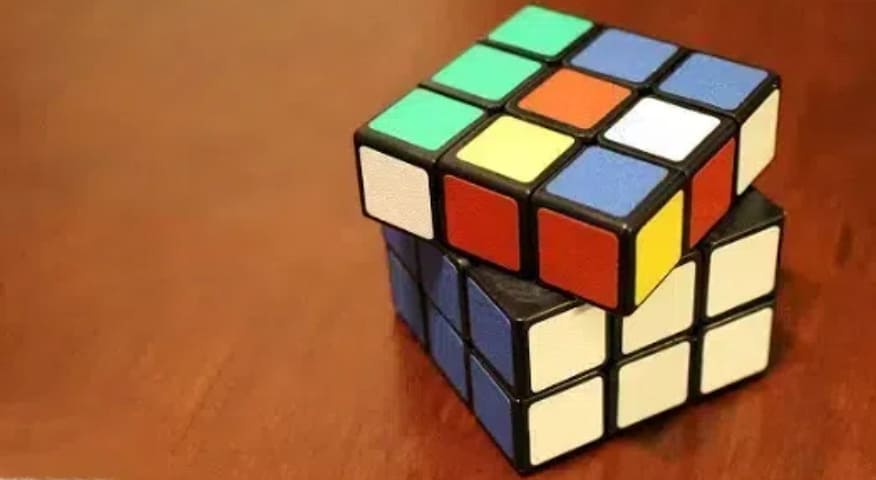
The Rubik’s Cube, invented in 1974, remains a timeless puzzle that continues to challenge and fascinate people worldwide. This iconic toy consists of 27 smaller cubes arranged in a 3x3x3 grid, each painted in one of six colors: red, yellow, green, blue, orange, or white. Your goal is to scramble the colors by rotating the cube and then solve the puzzle by aligning each face to a single color. Currently, the world record for solving the Rubik’s Cube stands at an impressive 3.47 seconds, achieved by China’s Du Yusheng. This guide will walk you through a detailed solution, helping you master the art of solving this intriguing puzzle.

Understanding the Rubik’s Cube Components
Before you embark on your Rubik’s Cube solution journey, it’s essential to grasp the cube’s structure. The Rubik’s Cube consists of three types of pieces:
- Corner Pieces: Located at the cube’s corners, these pieces have three visible colors. There are a total of eight corner pieces.
- Edge Pieces: These connect two visible colors and sit between the corners. The cube has 12 edge pieces.
- Center Pieces: Each center piece has a single color and does not move, totaling six center pieces—one for each face of the cube.
Moreover, each rotation of the cube involves a layer of nine blocks. Regardless of how you hold the cube, it consists of three layers that can be rotated.
Basic Notations and Rotations
In the Rubik’s Cube solution process, understanding rotations is crucial. There are two types of rotations: clockwise and counterclockwise. Clockwise rotations follow the natural direction of a clock’s hands, while counterclockwise rotations move in the opposite direction. In cube notation, counterclockwise rotations are denoted by a lowercase ‘i’, such as Ri, indicating a counterclockwise rotation of the right face.
Step-by-Step Rubik’s Cube Solution
1. Creating the White Cross
To begin your Rubik’s Cube solution, position the white face on top. Your first task involves creating a white cross on the top layer. This requires aligning the white edge pieces with the corresponding center colors on adjacent faces. Once you form the white cross, ensure that each face has two matching colored blocks directly beneath the top white block. If this alignment isn’t correct, continue manipulating the cube until these blocks align properly; otherwise, the subsequent steps will become more challenging.
2. Solving the White Corners
Next, focus on solving the white corner pieces while preserving the white cross. Each corner piece has one white face and two additional colors. If a corner piece is on the bottom layer, rotate the bottom layer until the corner sits directly beneath the white face. Use the following sequence to position the corner correctly:
- Rotate the bottom layer to align the corner under its correct position.
- Perform the algorithm: R U Ri U R U2 Ri.
Repeat this process for all four corners until the entire white face is complete.
3. Completing the Middle Layer
With the white face now complete, it’s time to solve the middle layer by placing edge pieces in their correct positions. The goal is to match the edge pieces with the center colors on the adjacent faces. Follow these steps:
- Identify an edge piece on the top layer that belongs in the middle layer.
- Rotate the top layer to align the edge piece with the corresponding center color.
- Determine the direction the edge piece needs to move (left or right).
- Use the appropriate algorithm to insert the edge piece into the middle layer:
- For left insertion: U’ L’ U L U F U’ F’.
- For right insertion: U R U’ Ri U’ Fi U F.
Continue this process until all middle layer edge pieces are correctly placed.
4. Forming the Yellow Cross
After completing the middle layer, the next step is to form a yellow cross on the top layer. This process resembles creating the white cross earlier and involves orienting the yellow edge pieces to form a cross shape. On the top layer, you might encounter one of three patterns: a yellow dot, an L shape, or a line. Here’s how to form the yellow cross:
- Examine the Top Layer: Focus only on the yellow cross shape, ignoring the corner pieces for now.
- Execute the Algorithm: Depending on the pattern observed, perform the following algorithm:
- For a yellow dot: Perform the algorithm three times.
- For an L shape: Rotate the cube until the L shape is positioned in the top-left corner, then perform the algorithm twice.
- For a line: Rotate the cube until the line is horizontal, then perform the algorithm once.
5. Aligning the Yellow Cross
After forming the yellow cross, the next step is to align the edge pieces of the yellow cross with the center pieces of the adjacent sides. Rotate the top layer until two edge pieces match their center colors. If you have two adjacent edges that need swapping, use the following algorithm:
- Rotate the right face clockwise.
- Rotate the top face clockwise.
- Rotate the right face counterclockwise.
- Rotate the top face clockwise.
- Rotate the right face clockwise.
- Rotate the top face twice clockwise.
- Rotate the right face counterclockwise.
- Rotate the top face clockwise.
If no edges match, perform the algorithm once, then reassess the cube’s alignment.
6. Positioning the Yellow Corners
With the yellow cross aligned, it’s time to position the yellow corner pieces in their correct locations, regardless of their orientation. Identify a yellow corner that is already in the correct position, even if it’s oriented incorrectly. Hold the cube so this corner is in the front-right position and use the following algorithm to cycle the other corners into place:
- Rotate the top face clockwise.
- Rotate the right face clockwise.
- Rotate the top face counterclockwise.
- Rotate the left face counterclockwise.
- Rotate the top face clockwise.
- Rotate the right face counterclockwise.
- Rotate the top face counterclockwise.
- Rotate the left face clockwise.
Repeat this process until all corners are correctly positioned.
7. Orienting the Yellow Corners
The final step in your Rubik’s Cube solution is to orient the yellow corners so that the entire top face is yellow. Hold the cube with an unsolved corner in the front-right position and use the following algorithm to rotate the corner:
- Rotate the right face clockwise.
- Rotate the top face clockwise.
- Rotate the right face counterclockwise.
- Rotate the top face clockwise.
Continue repeating this algorithm until the corner is correctly oriented. Then, rotate the top layer to position the next unsolved corner in the front-right position. Keep going until all corners are oriented correctly, and the Rubik’s Cube is solved.
Tips for Mastering the Rubik’s Cube Solution
- Practice Regularly: Consistent practice will help you memorize algorithms and improve your solving speed.
- Understand the Mechanics: Familiarize yourself with the cube’s structure and how different rotations affect the pieces.
- Learn Advanced Methods: Once you feel comfortable with the beginner’s method, explore advanced techniques like CFOP or Roux to enhance your solving skills.
- Stay Patient and Persistent: Solving the Rubik’s Cube requires patience, so don’t get discouraged by initial difficulties.
Conclusion
By diligently following this comprehensive Rubik’s Cube solution guide, you will be well on your way to mastering the art of solving this iconic puzzle. Each step builds your understanding and sharpens your skills, allowing you to tackle even the most challenging configurations. Remember, the keys to success are practice and perseverance.


