


How to Fix Black Bars on a 4:3 Resolution in CSGO?
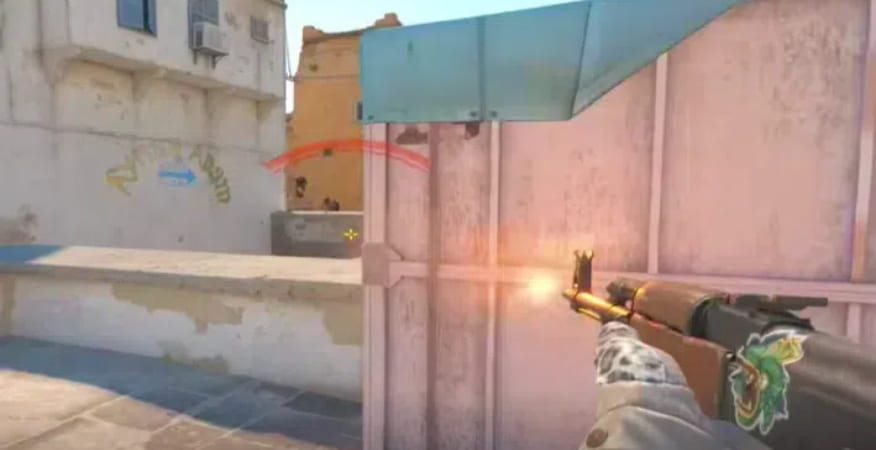
Step-by-Step Guide to Fixing Black Bars in CSGO
Step 1: Adjust In-Game Settings
Open CSGO: Launch the game and navigate to the main menu.
Access Settings: Click on the gear-shaped icon located in the bottom left corner of the screen to open the settings menu.
Video Settings: Navigate to the “Video Settings” tab within the settings menu.
Aspect Ratio: Scroll down to find the “Aspect Ratio” option and set it to “Standard 4:3”.
Step 2: Configure NVIDIA Control Panel
Open NVIDIA Control Panel: Right-click on your desktop and select “NVIDIA Control Panel” from the context menu.
Adjust Desktop Size and Position: In the NVIDIA Control Panel, locate and click on the “Adjust desktop size and position” option.
Scaling Mode: Under the “Scaling” tab, select “Full-screen”. This setting will stretch the game to fill the entire screen, removing the black bars.
Step 3: Apply and Save Settings
Apply Changes: Click the “Apply” button to save the changes made in the NVIDIA Control Panel.
Restart CSGO: For the changes to take effect, restart CSGO. Your game should now display in a full-screen 4:3 resolution without any black bars.
Troubleshooting Common Issues
Update Graphics Drivers: Ensure your graphics drivers are up-to-date. Outdated drivers can sometimes cause display issues.
Check Monitor Settings: Some monitors have built-in scaling settings that might override your NVIDIA Control Panel settings. Check your monitor’s menu for any scaling options and set them to “Full-screen” or “Aspect Ratio”.
Reapply Settings: Sometimes, reapplying the settings in both the game and NVIDIA Control Panel can resolve persistent issues.
Conclusion

Top Picks
Huntsman Weapon Case
$85.49 – $288.56
Danger Zone Case
$27.65 – $35.94
Snakebite Case
$20.04 – $111.31


